Preparation
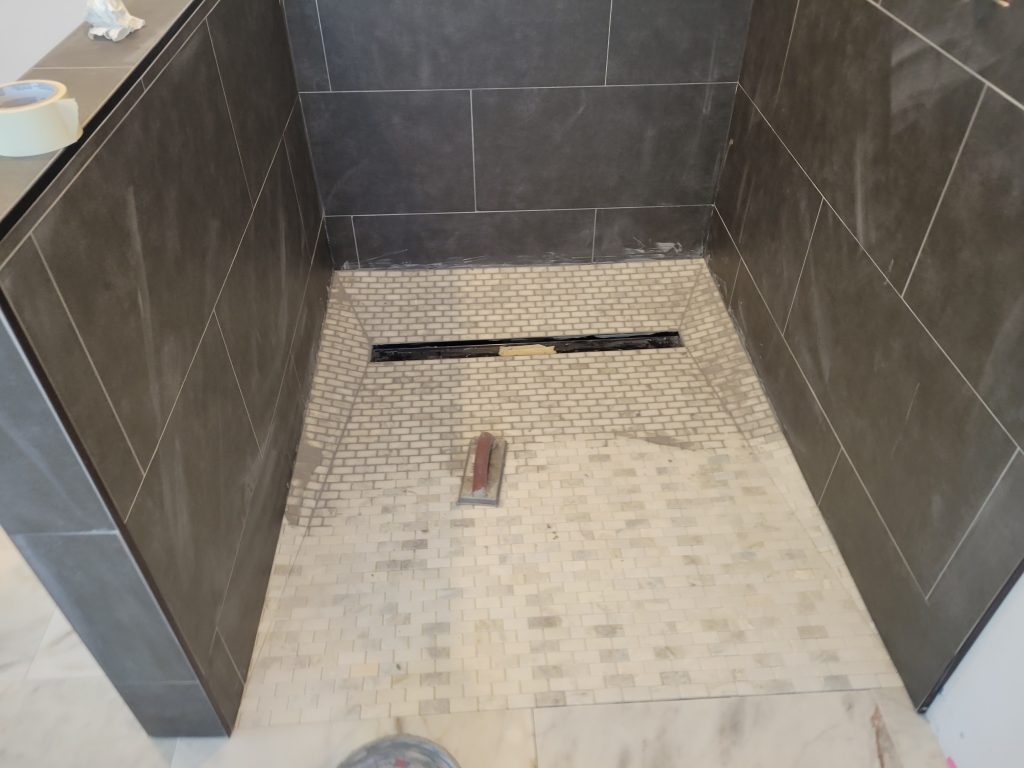
Building a beautiful and lasting tile installation requires following some necessary steps, and a few convenient nuances. For new construction, in order to eliminate graduating reveal lines or asking drywallers to come back after tile installation, it’s always a good idea for your tile installer to hang the wall board for showers and tub surrounds after your insulation inspection but before the drywall. After the drywallers finish with mud and tape, you may choose to begin any of the following: tile, prime walls and ceiling only (best option), or prime and paint. Then the big project can begin; floors first of course!
Transform
Floors
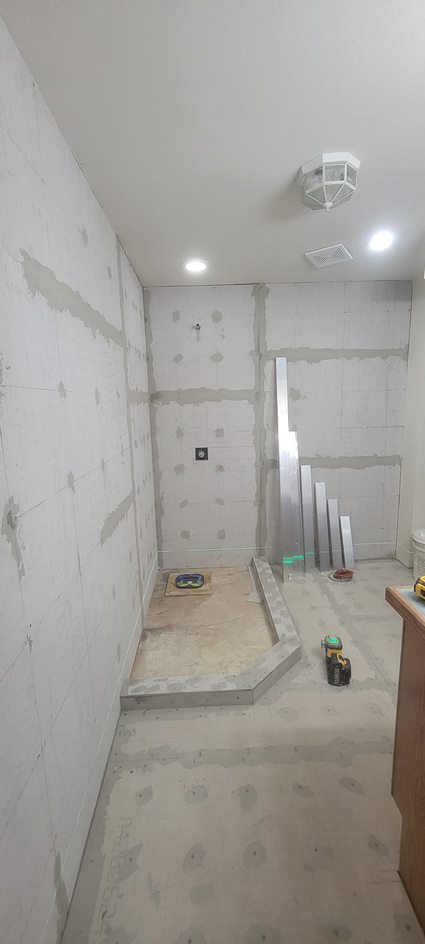
As in any other step of the building process the foundation is first and everything is built from the bottom up. That means floor tile goes underneath any adjacent wall (vertical) tiles. Underlayment is crucial and necessary for a lasting bond. On OSB or Plywood subfloors, a cementitious underlayment is Galen’s prefered method, tried and true. If you have a concrete floor that step is taken care of already! Expansion and contraction rates differ for every building product which is why it is important to isolate the tile from that movement. An uncoupling membrane is used underneath EVERY tile install. Once we have a cementitious surface, and an uncoupling membrane assisting to protect the tile from reasonable movement in your structure, we are ready to tile the floor.
Showers and Tubs
Pans and tub inserts come in many different styles, shapes, and sizes. It’s important to choose an option that will work for your space for years to come. Prefabricated plastic and fiberglass shower pans can be a cost saving option that will serve you well as long as it has been set properly with support underneath and secured to the adjacent framing. Whether you want to have a curbless (zero entry) shower, a luxury tiled shower floor, or a uniquely shaped shower…then a custom, hand built, properly pitched and effectively waterproofed shower pan is the only way to go. A properly pitched shower pan is level on the perimeter and sloped at a minimum of one quarter of an inch per foot towards the drain.
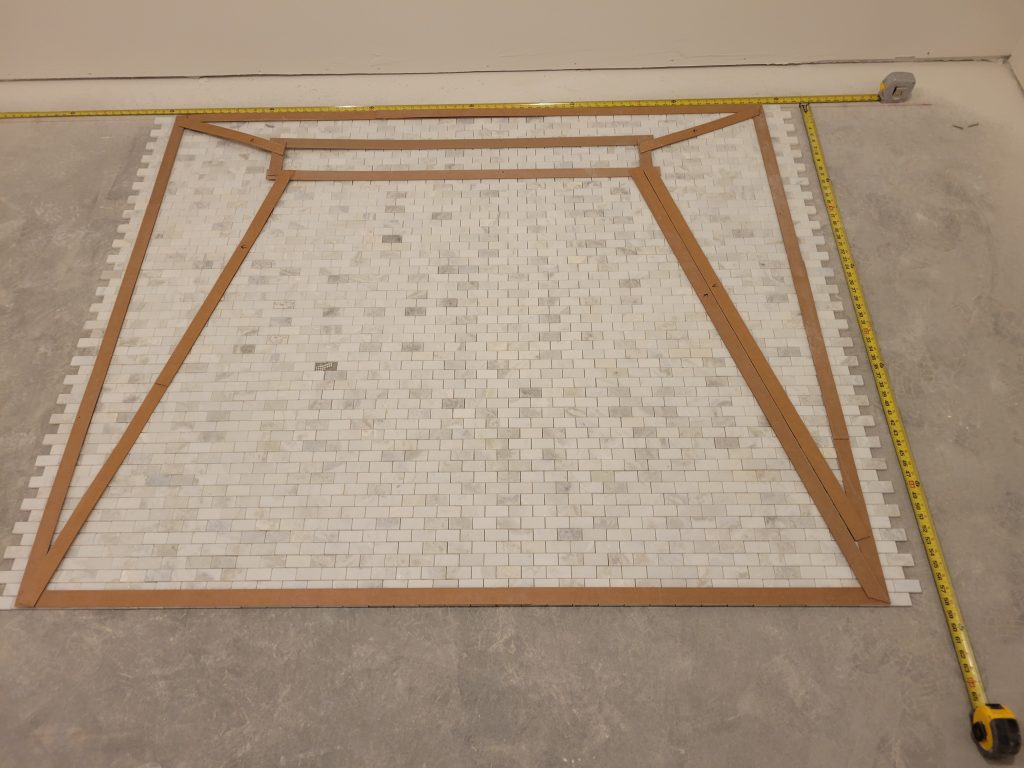
Our method uses a bonding flange drain, allowing for a waterproofing system that begins at the drain with continuous coverage past the shower head. We use FloFX bonding flange drains for the rough in, any drain grate from the FloFX brand can be used in your shower. Once the pan has been built and waterproofing completed the pan can be templated, tile cut and set, and then protected throughout the install.
enhance
Layout
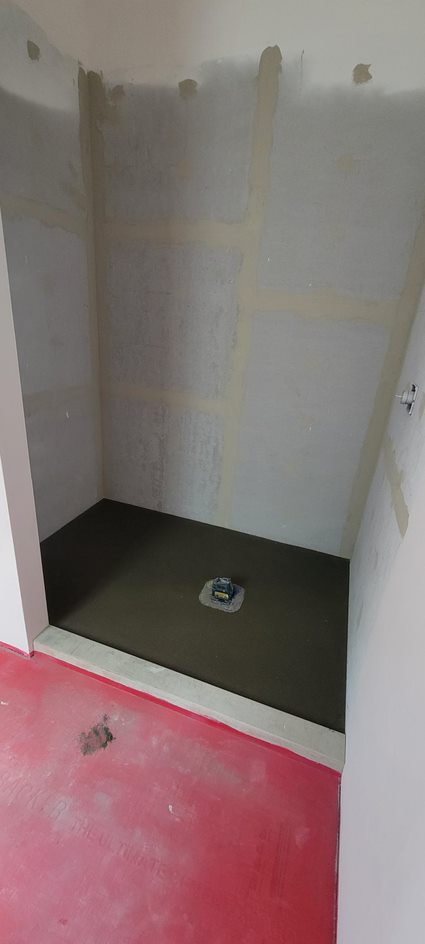
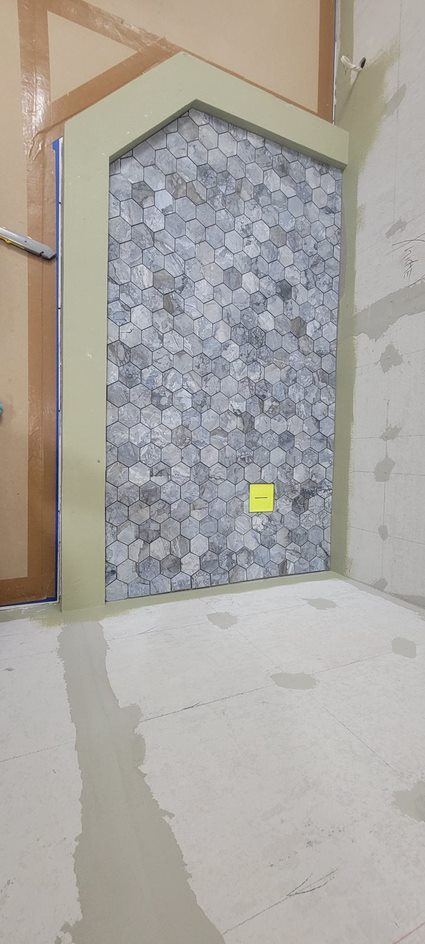
Often overlooked and occasionally followed by a shoulder shrug, layout is vital for ensuring your finished tile project reflects expectations. It’s not uncommon to spend an hour or more (depending on the number of corners in an installation), measuring, checking remainders, planning pattern breaks, planning sequence of install, and refiguring it all over again to get things right. Layout, while not complicated in theory, can be tedious and detail laden in practice. Don’t hire an installer that ignores the value of a well planned installation.
Setting and Grout
Tile is adhered to floors, walls, and ceilings, using thinset mortar, which is another cementitious product. It’s important to understand the amount of material to use and to be sure it is spread and connected to the back of the tiles effectively. We are looking for every tile to be completely bonded to the substrate, not just “tacked on” with dollops of adhesive. Trowel size, direction, and application are all factors that change depending on the tile being set. Choose an installer that knows what is required by national standards, and WHY those requirements are in place.
Once the tiles are in place, the thinset mortar needs to cure fully prior to taking care of grout lines. The first step in grouting is caulking. Color matched grout caulk is required by national standards in all inside corner changes of plane. This too is needed to protect your tile from damage due to structural movement. After the caulk is in and cured, we can spread grout in all of our open fields of tile. Another important choice is made here…having the proper grout for each unique installation is crucial! Do not purchase grout without consulting your installer first.
